|
Working with views |
  
|
|
Working with views |
|
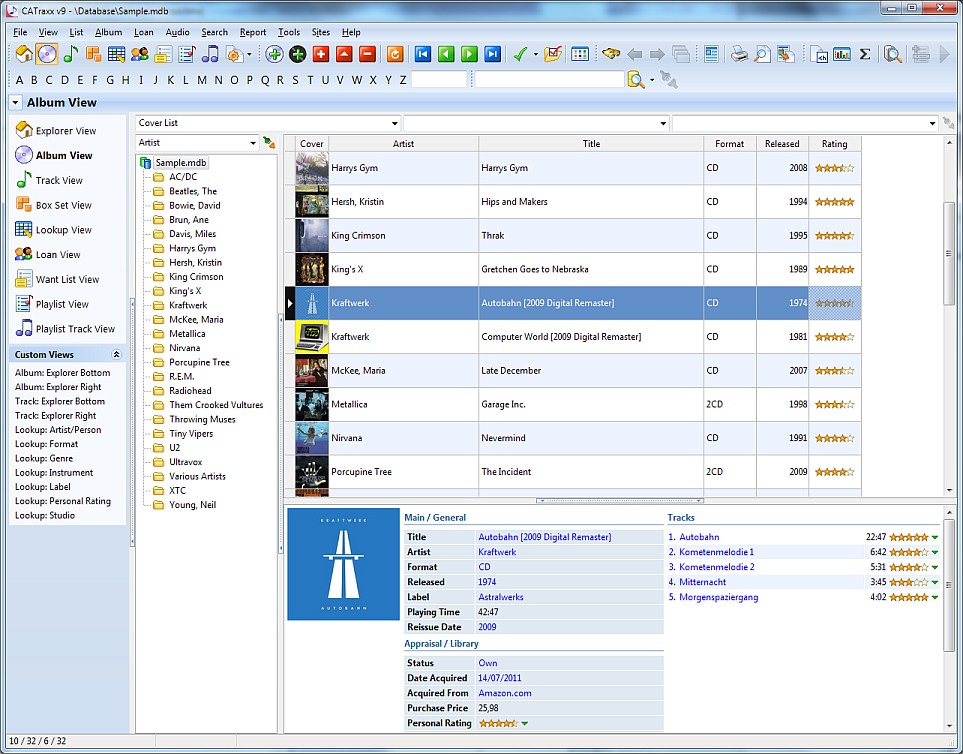
The main CATraxx window is divided into three parts:
| 1. | The menu/toolbar at the top of the window. |
| 2. | The view bar to the left. |
| 3. | The rest of the window is occupied by the active view. There are a total of 9 different views: Explorer View, Album View, Track View, Box Set View, Lookup View, Loan View, Want List View, Playlist View and Playlist Track View. |
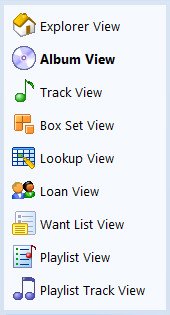
You can select the view you want to open in the view bar. The currently open view is highlighted in bold:
You can also select view from the toolbar:
![]()
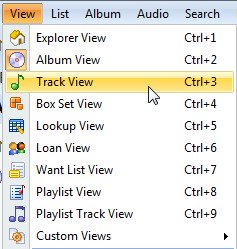
or the View menu (notice the shortcut keys):
In addition to this, you can also select view, including the lookup table you want to edit in the Lookup View, from the View button on the toolbar:
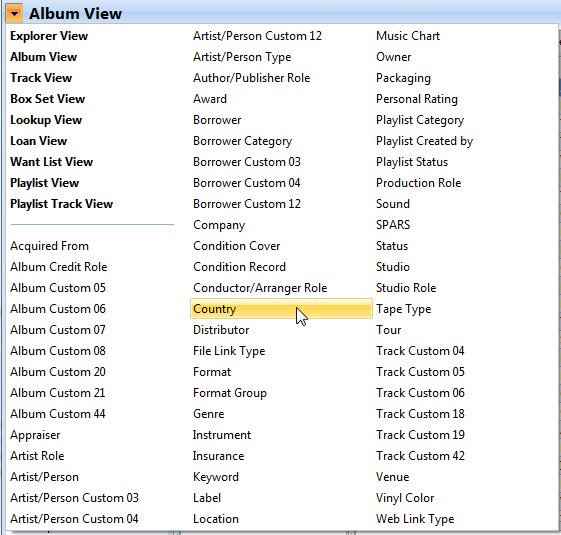
If the View button/View title section is hidden, choose Select View from the View menu (or press the Ctrl+W shortcut) to select lookup table.
When you select one of the standard views, the program activates the view with the same settings loaded as the last time you used the view. This means that the same list layout, sort order, filter, and grouping definition are automatically activated.
In addition, you can create your own custom views, enabling you to easily access relevant information in your database (albums, tracks, artists, labels, playlists, etc.). A custom view can be linked to a specific list layout, sort order, filter and grouping definition. Choose Views Setup from the View menu to set up your own custom views.